
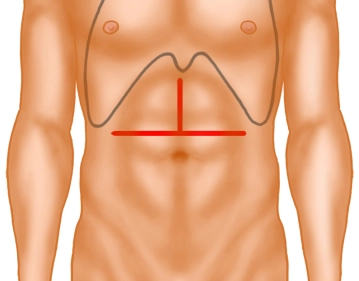
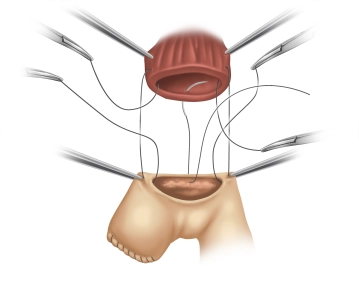
The opening of the abdomen is performed via a transverse upper abdominal laparotomy with upper median laparotomy, so-called “inverted T“.
Then, using diathermy, the subcutaneous tissue and subsequently the rectus musculature are transected along the linea alba.
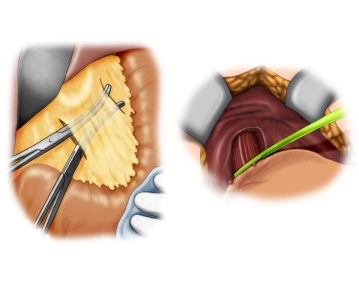
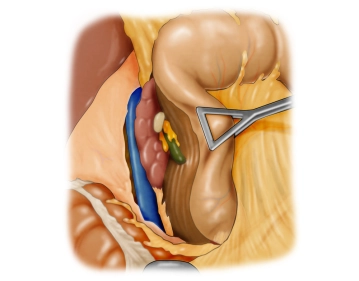
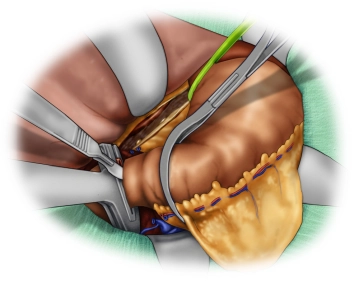
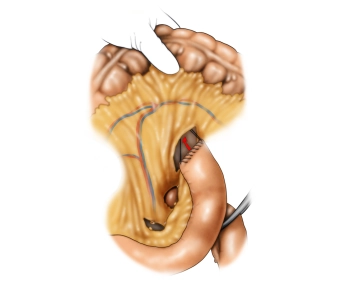
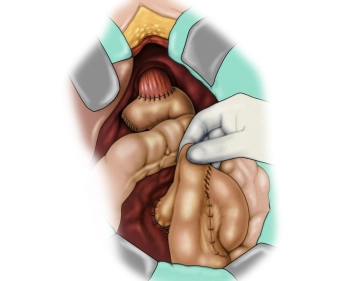
The opened abdominal cavity is now explored to assess the location and extent of the tumor and thus the resectability after exclusion of distant metastases, especially on the peritoneum and liver. The tumor is located in the middle third of the stomach at the greater curvature.
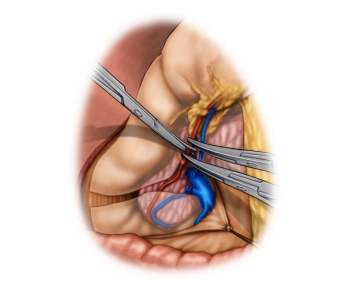

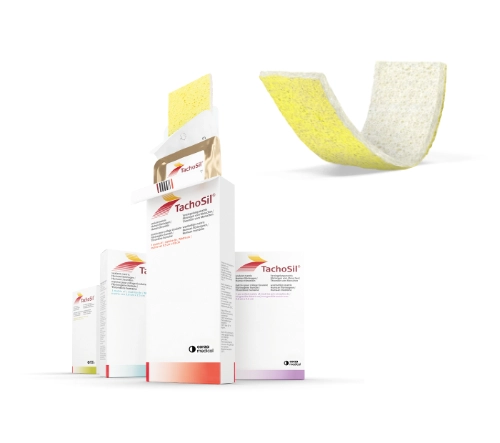
Active local hemostasis and sealing
TachoSil® Versiegelungsmatrix
TachoSil® is used in adults and children from 1 month of age as supportive treatment in surgery for improving hemostasis, for supporting tissue sealing, and for suture support in vascular surgery when standard techniques are insufficient. TachoSil® is used in adults for supportive sealing of the dura mater to prevent postoperative cerebrospinal fluid leakage after neurosurgical procedures.
Produktwebsite TachoSil®
TachoSil® Prescribing Information 05-2025 (354.1 kB)